How to Add Your Micro E-Pay Dollar Card as a Payment Method on Namecheap (For Developers and Businesses)

Joseph Braide
January 6, 2025
For developers and businesses managing domains, hosting, and other services on Namecheap, having a fast, secure, and reliable payment method is crucial. The Micro E-Pay Dollar Card is an excellent choice for seamless transactions, offering global acceptance, enhanced security, and instant processing. In this guide, we’ll walk you through how to integrate your Micro E-Pay Dollar Card into your Namecheap account, ensuring smooth and hassle-free payments for your projects.
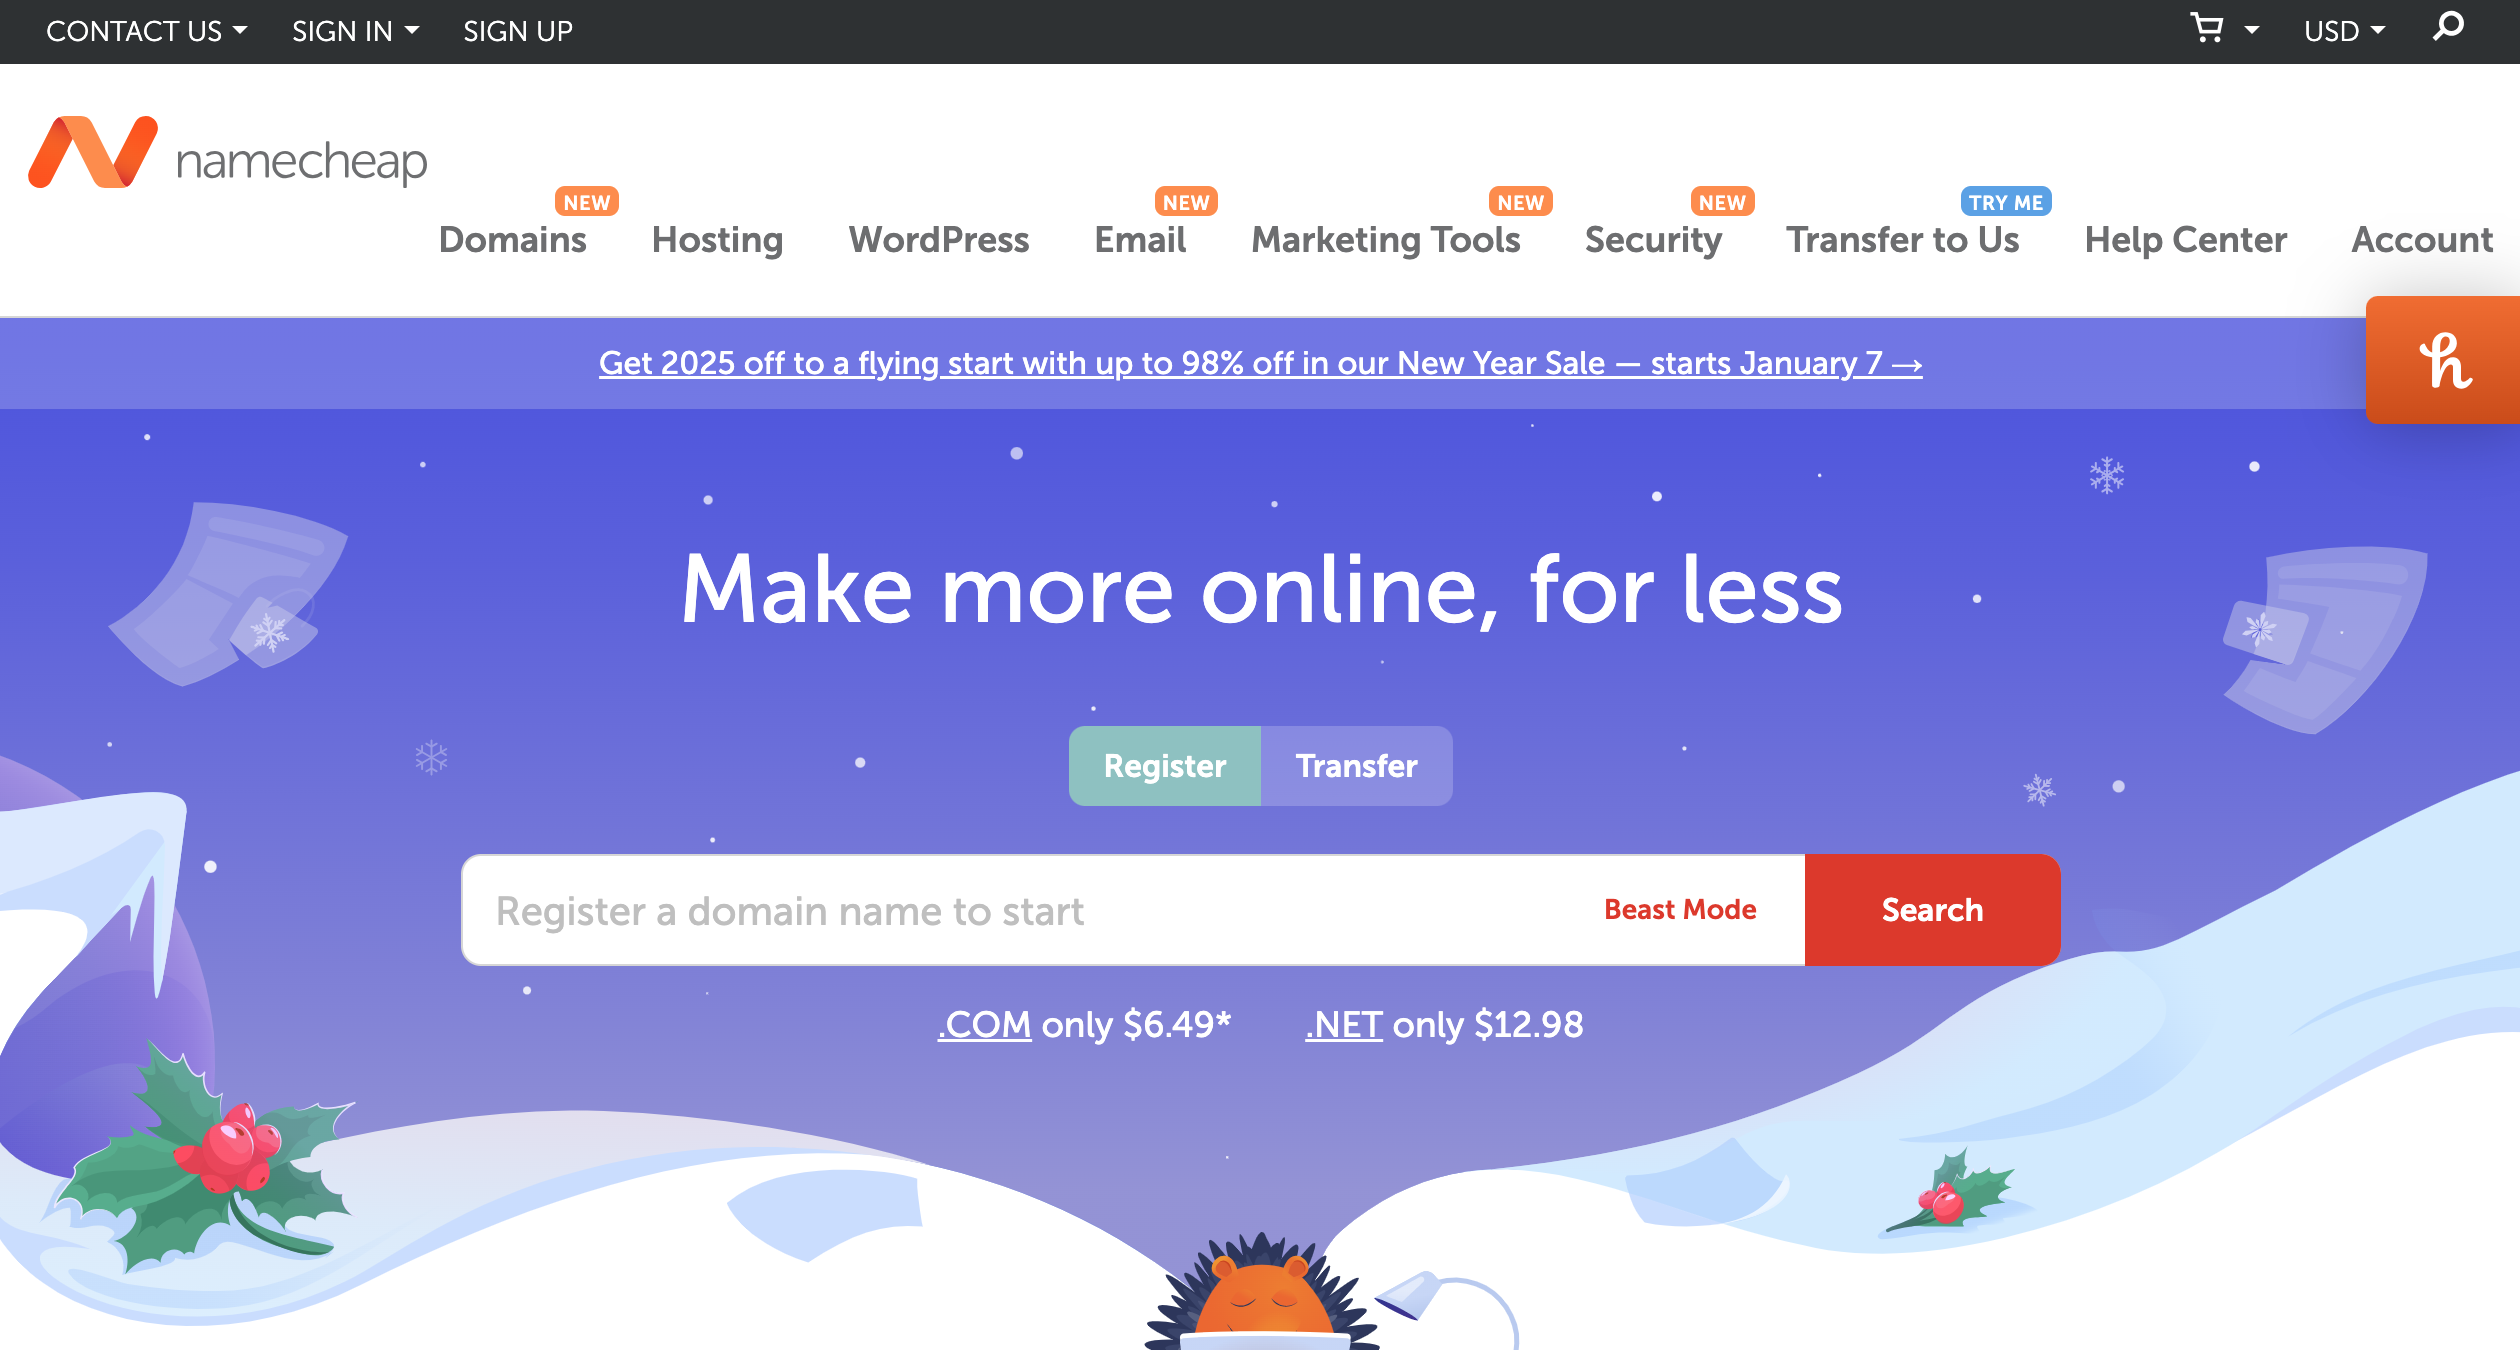
Step 1: Log in to Your Namecheap Account
-
Visit the Namecheap website: https://www.namecheap.com.
-
Click on the Sign In button at the top-right corner.
-
Enter your username and password to access your account.
Step 2: Navigate to the Payment Methods Section
-
Hover over your profile icon at the top-right corner.
-
From the dropdown menu, select Account.
-
In the left-hand menu, click on Payment Methods.
Step 3: Add Your Micro E-Pay Dollar Card
-
Click on the Add Payment Method button.
-
Select Credit/Debit Card as the payment method.
-
Enter your Micro E-Pay Dollar Card details:
-
Card Number: Input the 16-digit number on your card.
-
Expiration Date: Enter the month and year your card expires.
-
CVV: Provide the 3-digit security code on the back of the card.
-
Cardholder Name: Use the name associated with your card.
-
-
Click Save Card to add it to your account.
Step 4: Why Developers and Businesses Love the Micro E-Pay Dollar Card
-
Global Transactions: Perfect for managing international clients and services.
-
Enhanced Security: Protect your payments with advanced fraud protection.
-
Instant Processing: No delays—your payments are processed quickly, keeping your projects on track.
-
Flexibility: Ideal for recurring subscriptions, domain renewals, and one-time purchases.
Step 5: Set Your Micro E-Pay Card as the Default Payment Method (Optional)
-
If you want to use this card for all future transactions, set it as the default payment method.
-
Go to the Payment Methods section and locate your Micro E-Pay card.
-
Click the Set as Default button next to the card.
Step 6: Verify Your Card (If Required)
-
Namecheap may request card verification for security purposes.
-
Check your email or Micro E-Pay account for any verification requests.
-
Follow the instructions to complete the verification process.
Step 7: Make a Payment Using Your Micro E-Pay Card
-
When purchasing a domain, hosting, or other services, proceed to the checkout page.
-
Select your Micro E-Pay Dollar Card as the payment method.
-
Complete the payment process and enjoy a seamless experience.
Ready to streamline your payments and focus on what matters most—your projects? Add your Micro E-Pay Dollar Card to Namecheap today and experience faster, more secure transactions. Whether you’re managing domains for clients or hosting for your business, the Micro E-Pay Dollar Card is the ultimate payment solution. Don’t wait—upgrade your payment experience now!